Making your own Christmas ornaments and decoration crafts is an excellent way to celebrate the joy of the holidays. Not only is creating your own holiday crafts inexpensive, but it's a great way to personalize the holiday with unique, heartwarming objects you'll treasure for years to come.
Crafting your own holiday decorations is an activity that can be enjoyed by all ages and generations. They are perfect gifts to show the special people in your life how much you care and are sure to be in your family for generations to come.
Advertisement
In this article you'll learn about a variety of craft projects that the whole family can do together to celebrate the Christmas season.
These fragrant holiday decorations evoke memories of Christmases past.
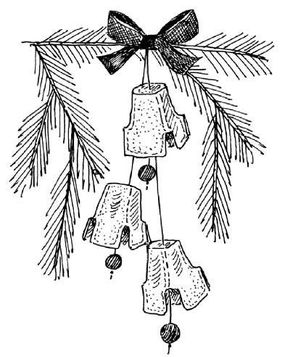
It's Christmastime in the city, so get into the spirit by crafting charming sliver bell ornaments.
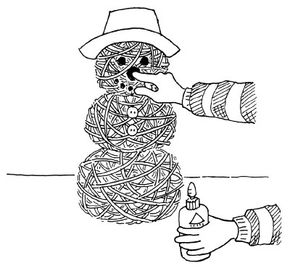
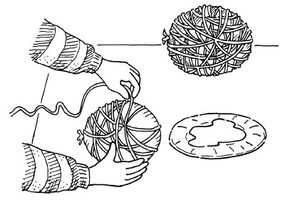
Not only will you stay warm and cozy while making this adorable snowman, but he'll be around for years to come.
Kids will love creating super snowman magnets as they get into the holiday spirit.
International Christmas Ornaments
Add sparkle -- and a charming touch -- to your Christmas tree with international Christmas ornaments.
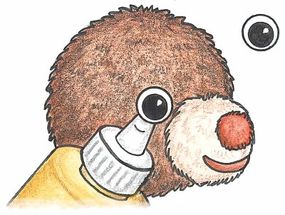
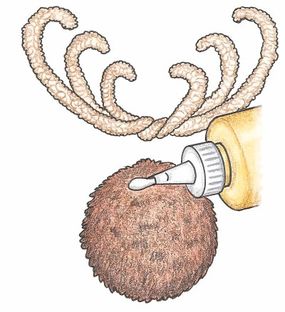
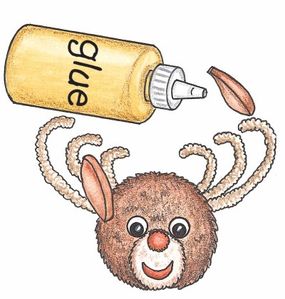
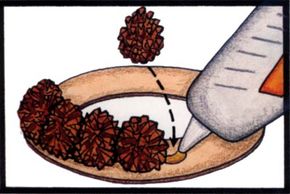
Pom reindeer magnets are adorable and easy to make.
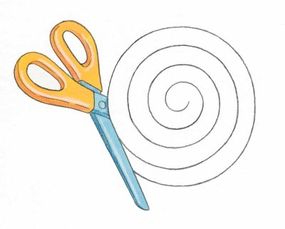
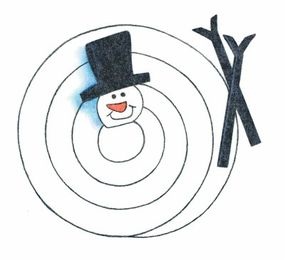
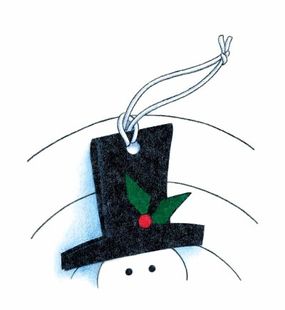
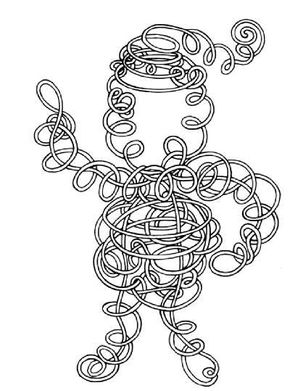
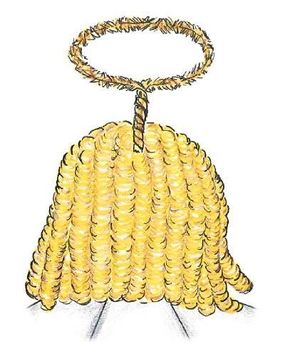
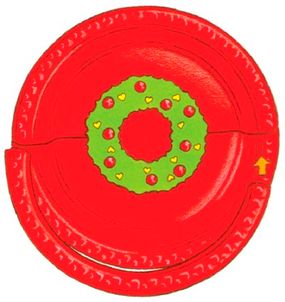
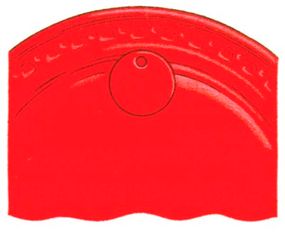
Add a whimsical touch to your Christmas tree with a sensational spiral ornament.
This lovely wreath makes a perfect holiday hostess gift.
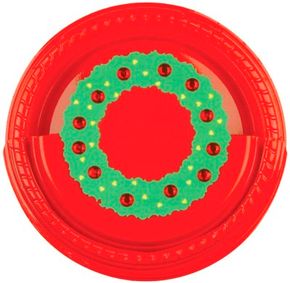
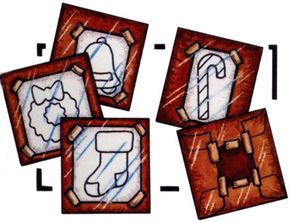
Create beautiful symbols of the holiday season in just a few easy steps.
Spread some Christmas cheer with a jolly old soul.
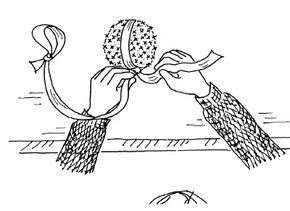
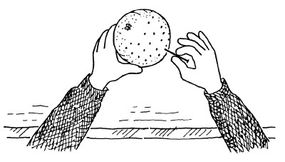
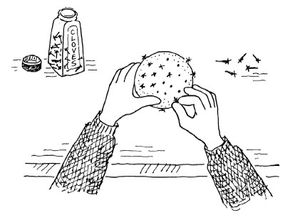
Pomander apple- and spice-scented decorations simply smell like Christmas.
Welcome holiday guests with a beautiful willow wreath on your front door.
Use ordinary drinking straws to create dazzling holiday decorations.
The wonderful scent of this pomander will put you in the holiday mood in no time.
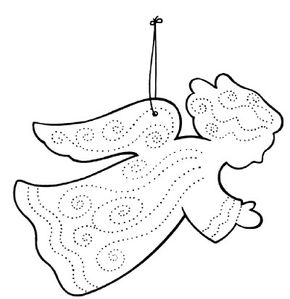
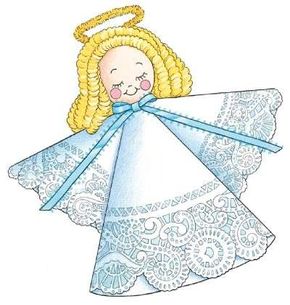
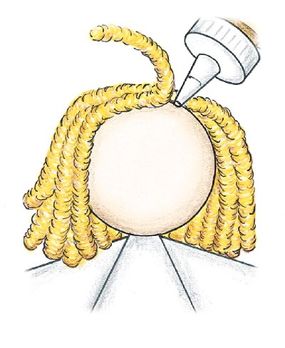
A doily angel makes a precious tree-topper to be treasured for years to come.
Parents and children can create special holiday memories by making a lovable milk bottle snowman together.
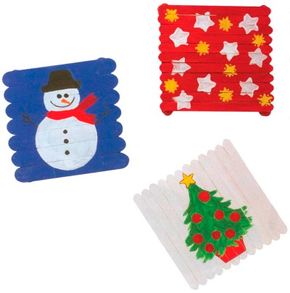
These trivets will look festive on your holiday table this winter.
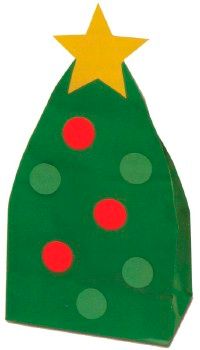
Put a Christmas tree in every room of your house this winter with this fun and easy craft.
Bless your house by making and displaying these pretty angel dolls.
No snow this winter? Don't worry -- with this craft you can still make a snowman.
This wall basket is the perfect place to store your holiday greeting cards.
Here's a whimsical snowman that will surely bring cheer to your house this holiday season.
Mother Nature can help you celebrate holidays with this holiday craft.
Show your whole neighborhood your Christmas spirit with these window decorations.
Get your holiday crafting off to a sweet-smelling start -- see our easy instructions for making fruity clove and citrus pomanders.
For more fun holiday craft ideas and activities for kids, see:
- Holiday Crafts
- Kids Activities
- Kids Crafts
- Easy Christmas Crafts for Kids
- Christmas Activities
Advertisement