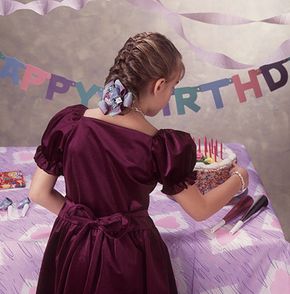
Do you want to know how to make girls' hair bows? These fun designs have flair and can be festive on any occasion. From a classic bow to a fancy round-a-bow, you can make many hair bows that reflect your child's style whatever the season.
Although these hair bows are simple to make, some require sewing or using a hot glue gun. So you may want to create them yourself or supervise your child when she makes them.
Advertisement
In this article you'll also learn how to style your child's hair to show off the hair bows to their best advantage. French braids and chignons may sound complicated, but our detailed instructions will help you perfect your technique.
Follow the links to learn how to make hair bows and hairstyles:
Shoelace Bow with Front Braids
Turn heads with the shoelace bow. It's as easy to make as tying your shoes!
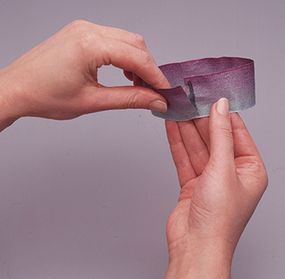
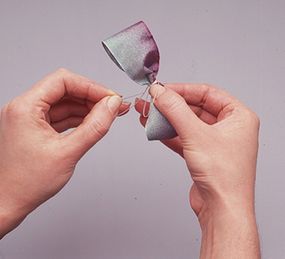
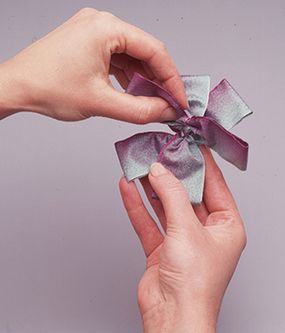
Simple Bow with Three-Strand Ropes
This simple bow can be decorated with any small novelty item. Use it to tie back hair that's twisted into three-strand ropes.
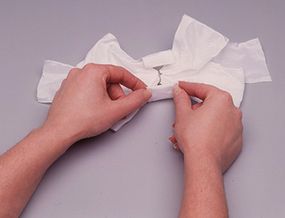
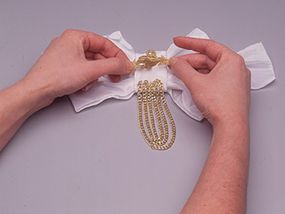
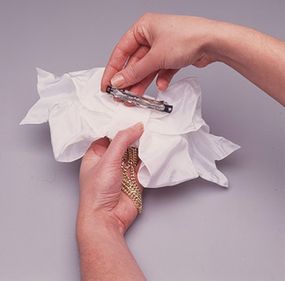
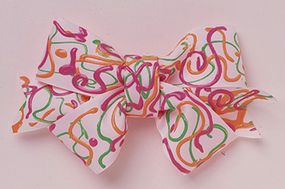
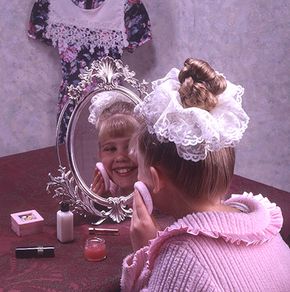
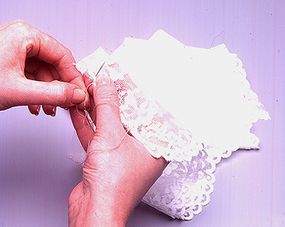
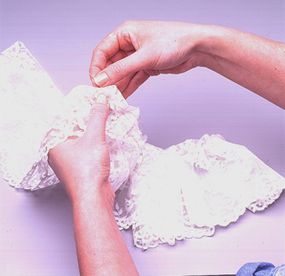
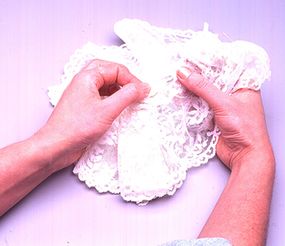
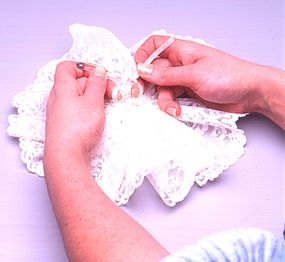
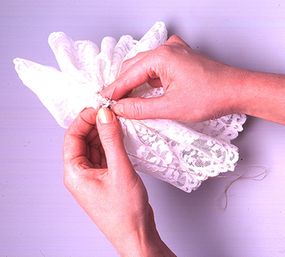
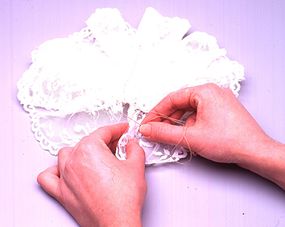
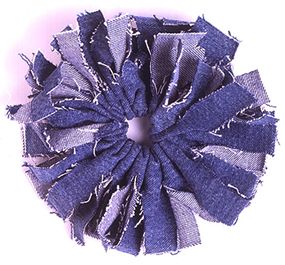
Round-A-Bow with Braided Chignon
This fancy bow is similar to a scrunchie but doesn't need to be twisted. Use lace to create an elaborate design or denim to keep it casual.
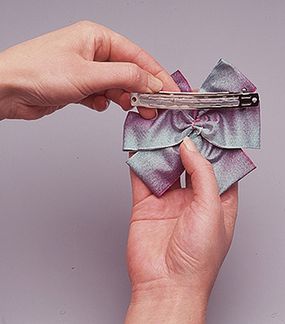
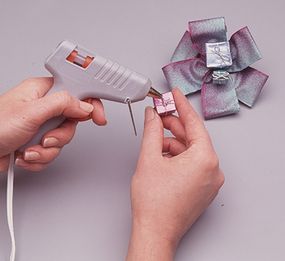
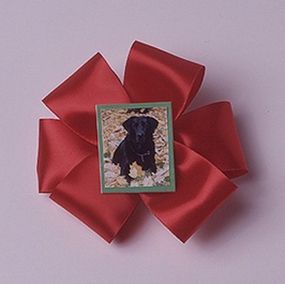
Gift Box Bow with French Braids
Using any novelty you choose, including photos, make a bow that's highly individual and special to you.
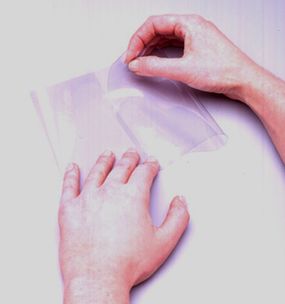
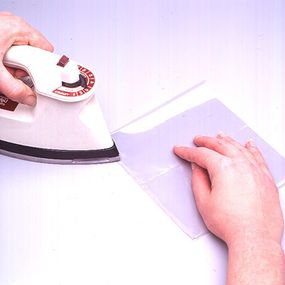
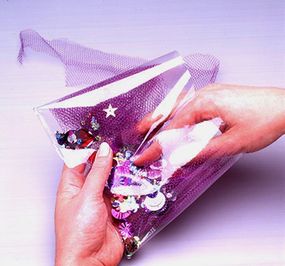
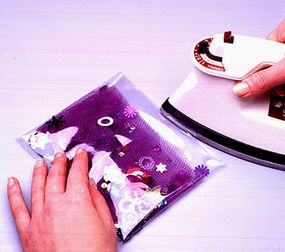
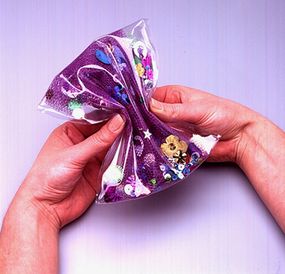
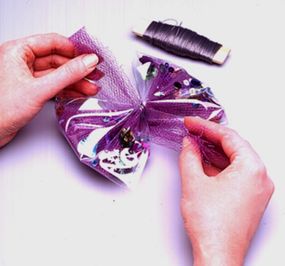
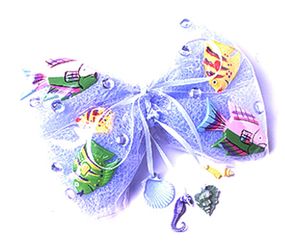
Plastic Bow with Herringbone Braid
A clear plastic bow frames and sets the stage for novelties inserted inside it.
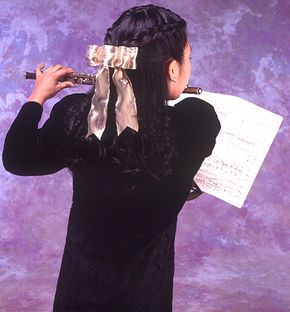
Classic Bow with French Underbraids
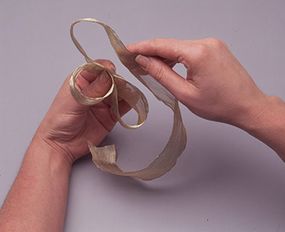
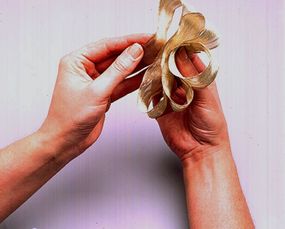
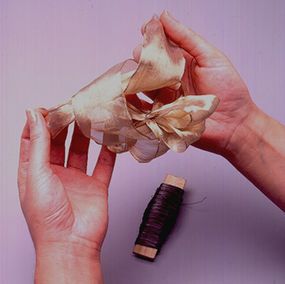
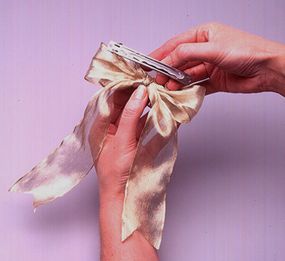
A classic bow is elegant and appropriate for even the most dressy occasions.
Embrace your creative side and begin making hair bows on the next page.
For more fun arts and crafts activities, check out:
Advertisement