©iStockphoto/Dave Raboin
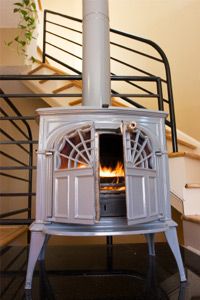
Adding a wood burning stove to your home can help you reduce heating costs. Wood burning stoves get incredibly hot, with interior temperatures reaching over 1000 degrees Fahrenheit (540 degrees Celsius) [source: Walker]. If you want to forgo hiring professionals, here are some basic steps for installing a wood burning stove:
- Find a suitable location To heat your home properly, you should install your wood burning stove in a central location on the ground floor, where heat can circulate easily into nearby rooms. Keep in mind to put it where you'll have room to load wood and remove ash [source: Woodstock Soapstone Company].
- Ensure non-combustible surroundings Since a wood burning stove gets so hot, you need to make sure it won't burn your house down. The stove must be placed at least 12 inches (25 centimeters) away from non-combustible walls and 36 inches (75 centimeters) away from combustible ones. The stove can only stand on a non-combustible floor. You can install 28-gauge sheet metal on the walls near your stove and either concrete slab, prefabricated stove boards ceramic tile or other UL approved materials underneath the area around the stove to make it safe for the heat [source: Walker].
- Install a chimney Wood stoves create smoke. You'll need to install a chimney so the smoke can leave your house. Either you'll need a masonry chimney or a UL approved insulated chimney. It's best to have a straight, vertical chimney -- the fewer bends in the chimney the better. The chimney should extend 2 feet (60 centimeters) above anything within 10 feet (3 meters) horizontally of its peak. Cap the chimney to keep birds and other animals out [source: Walker].
Advertisement