When it comes to painting a room, preparation is half the battle. Therefore, it pays to know everything you can about interior painting preparation before starting a job.
The links at the bottom of this page will direct you to articles that will explain the ins and outs of interior painting preparation. They'll tell you how to repair the most common surface flaws and describe the methods to clean surfaces for painting.
Advertisement
For example, if you're painting over a previously painted surface, look for rough, peeling, or chipped areas. The best way to find flaws is to remove all the furniture from the room. If this isn't possible, cluster the furniture in one area, and cover it and the floors with drop cloths. Take down the draperies and the drapery hardware. Loosen the light fixtures; let them hang and wrap them with plastic bags. Remove the wall plates from electrical outlets and switches (if you intend to paint them the same color as the wall, do so while they're off the wall).
Here's a preview of other topics we cover regarding interior painting preparation:
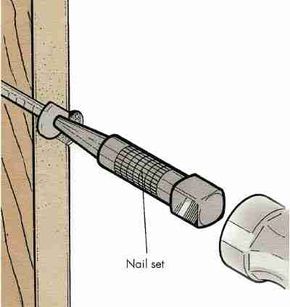
Over time, nails can come loose or rust. Put them back in their place by following these instructions.
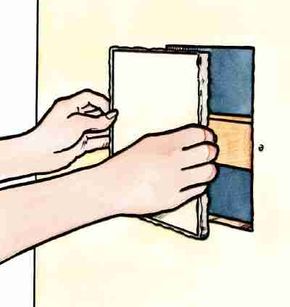
You want a clean, smooth surface before you begin painting drywall. Use these steps to fill in old holes.
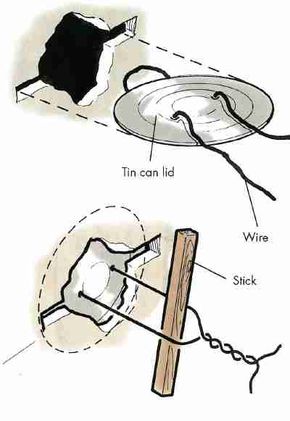
Some holes are large enough that you'll need to replace a section of drywall. That's an easy project with these tips.
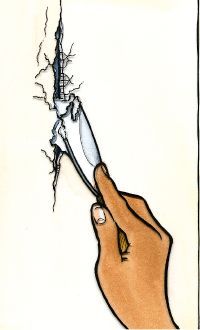
Paint won't cover up a crack in the plaster for very long. Fix this problem for good, and guarantee yourself a smooth, solid surface for painting.
Scrubbing and Sanding Surfaces
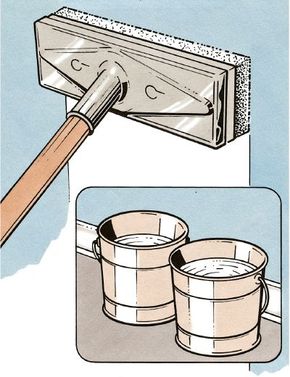
Wash away old stains, odors, and dirt before you begin. Learn the best way to clean up your surface before your painting project begins.
Layers of old paint may create flaws in the surface. See the right techniques for scraping down to the original material.
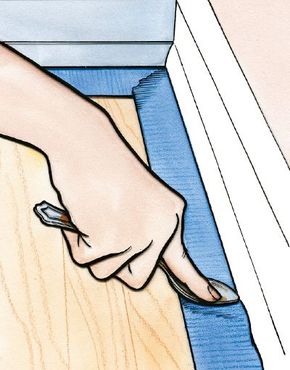
The use of masking tape will ensure that paint goes where it's supposed to, and not where it isn't. Read about making masking tape work for you.
For more information on painting and on home improvement in general, see:
- Interior Paints: See this list of interior paints and find out which type is right for your project.
- Painting Interiors: Learn the basics of putting fresh coats of paint on the inside of your house.
- Room Painting Techniques: These tricks will help you paint like a pro.
- House Painting: For all things related to improving your home with paint, visit this page.
- Home Improvement: After you're done painting, learn how you can make other fixes in all parts of your home.
Advertisement