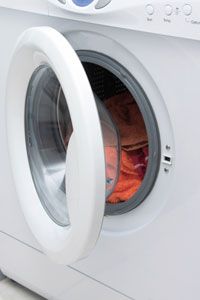
It's laundry day. You know this because the shirt you're wearing is eight years old and doesn't match your pants in any light. And there's a chance, just a chance, that you're wearing one black sock and one Navy blue sock. So you schlep a heaping hamper to the laundry room and carefully (or not so carefully) separate colors from whites. Then, you cram as many as will fit into the washing machine, throw in some detergent and hit the START button.
And nothing happens.
Advertisement
Suddenly, the piece of machinery you could always count on is on the fritz. Washing machines are the workhorses of the household appliance stable -- in fact, there's even a TED Talk about how they're the most important invention of the Industrial Revolution (source: Rosling]. And when they go down, they're the toughest to get by without. Who wants to drag their laundry down the street to the laundromat and fight other people for the privilege of shoving quarters into a strange machine that you suspect may not take the gentle cycle very seriously?
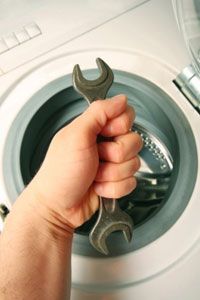
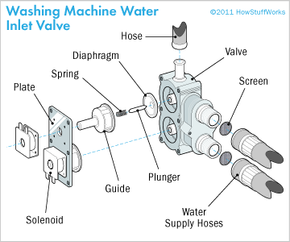
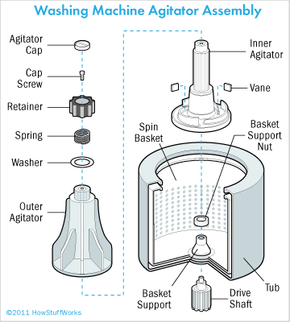
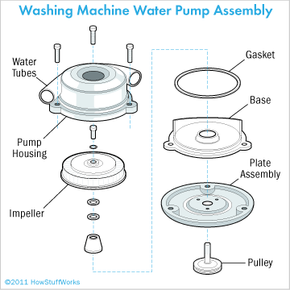
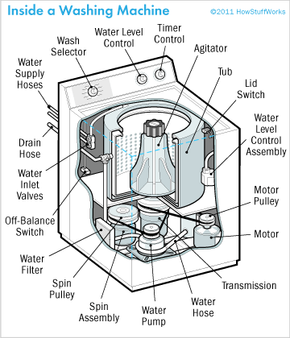
So, you have a choice to make: Call a repairman or see if you can tackle the problem yourself. Because washing machines do so many things, they may be harder to diagnose than they are to repair. For a household appliance, it's a pretty complicated gizmo - with special timing cycles that operate valves, motors that turn water on, spin the tub, drain water, and control the water temperature.
Note: Many newer washers include electronic diagnostics that can be interpreted from the owner's manual.
Caution: Before you do any work on a washer, make sure it's unplugged. Disconnect the grounding wire and the water hoses.
But diagnosis is possible, even for the do-it-yourselfer. It just takes a little patience and a basic understanding of washing machine mechanics. In this article, we will explain how to troubleshoot your washing machine and describe some quick repairs for common malfunctions.
Advertisement