If you've run out of Halloween costume ideas for kids, don't turn to a costume shop for pricey premade garb. Instead, get inspired with the inexpensive and original ideas that follow. Don't sew? Don't worry. With just a few dabs of glue and the slide of an iron, you can make your child tops on the trick-or-treat block or the hit of the Halloween party with these no-sew kids' Halloween costume masterpieces.
Halloween Candy Image Gallery
Advertisement
Still not convinced? Check out the array of kids' Halloween costume options -- from spooky to space age to just plain silly -- we've compiled for you here.
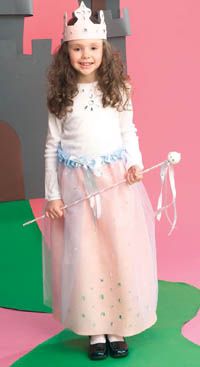
Transform a little girl into her favorite fairy tale princess with some felt and faux jewels.
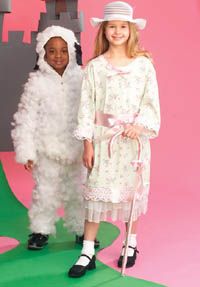
Bo Peep and Her Sheep Costumes
Shepherd your kids into these easy-to-assemble ensembles and send them to trick-or-treat as a herd. kids-halloween-costumes3.htm
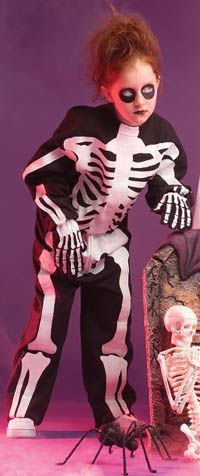
Nothing says Halloween like a spooky skeleton, and nothing says simple to make like this sweat suit-based costume.
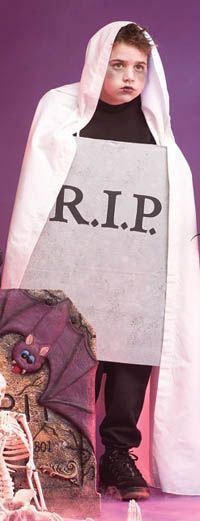
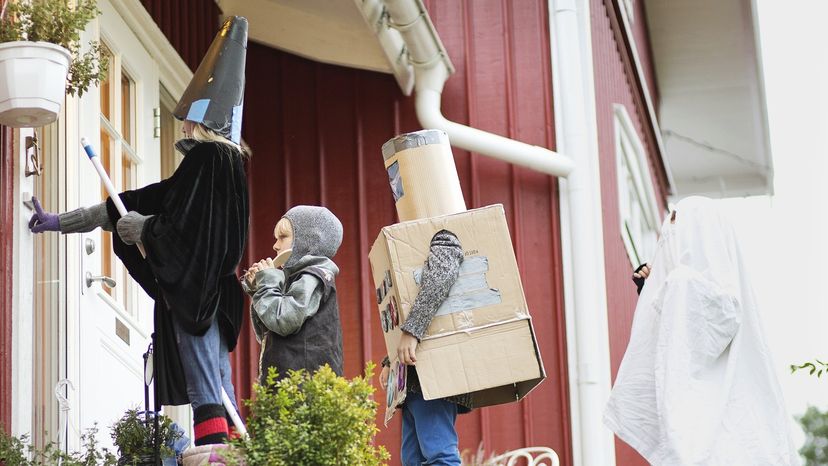
If bones don't qualify as ghoulish garb, what about no body at all? A white sheet, some cardboard, and paints can make any kid a ghostly presence.
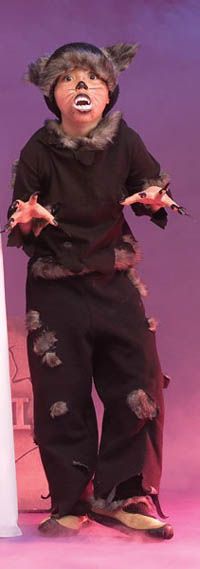
Bring out your kid's inner animal with this costume, which is faux-furry, ferocious, and fun.
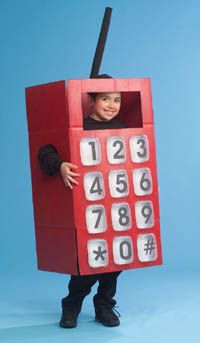
Your kid can be a cultural phenomenon -- and handy communication device -- in this easy cardboard-box costume.
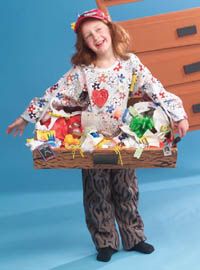
A few household odds and ends, a cake box, and a flair for the disorganized are the keys to this getup guaranteed to garner laughs.
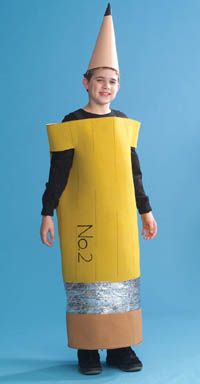
You'll have the sharpest of trick-or-treaters when you outfit your young scholar in this oversized pencil suit.
Everyone loves a clown -- especially you when you see how easy it can be to create a floppy, festive costume.
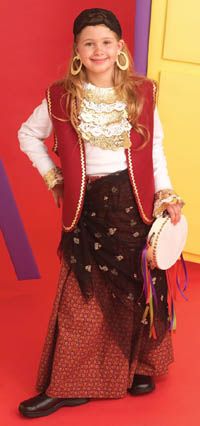
Twirling with her tambourine, your kid will love the gypsy life. Or you can catch the pirate craze with just a few tweaks to this no-sew costume.
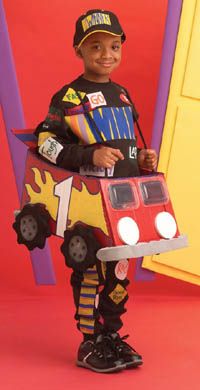
Send your kid to trick-or-treat in style -- and at record speed -- in a custom-built costume that includes a car!
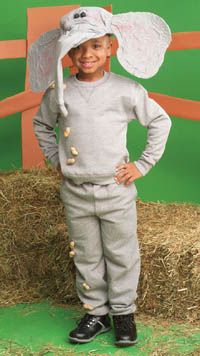
He'll be sucking down peanuts and other Halloween treats in no time once disguised in this clever modified-sweat suit costume.
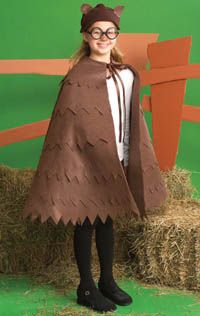
Whether your kid is a bird-watcher, baseball fan, or budding scholar, she's bound to love this owl costume, which is easy to make and even more easily adapted into other birds.
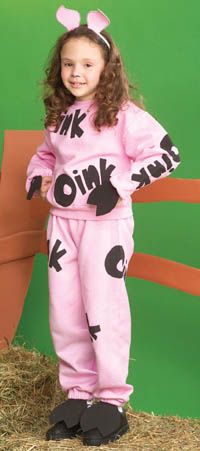
Everyone's favorite barnyard pal is also the hit of the Halloween party, and a pink sweat suit is nearly all you need.
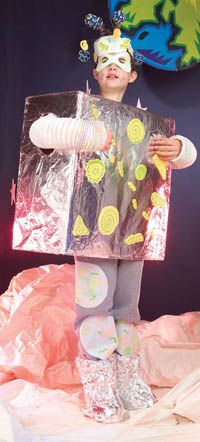
Take us to your candy! Whether you're outfitting one alien or a whole troop, you'll find this easy costume out of this world.
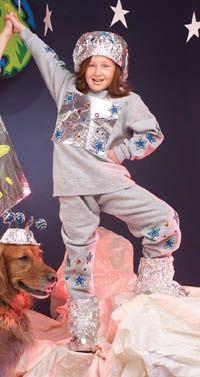
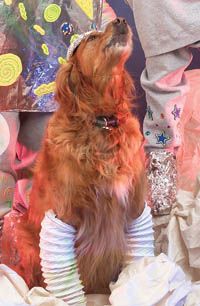
Astronaut and Space Dog Costumes
With a patient pooch, your kid can have a costume-coordinated sidekick for the evening, whether it's space travel or a Halloween party that lies ahead.
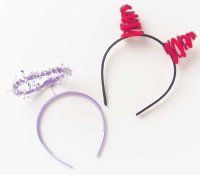
These easy headband costumes can be ready in 15 minutes flat -- or they can serve as a starting point for a more elaborate costume.
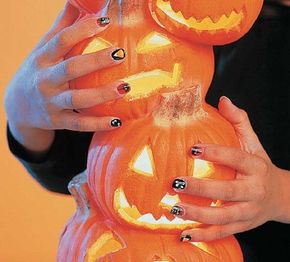
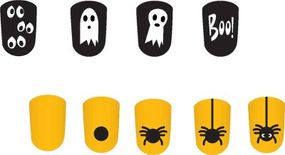
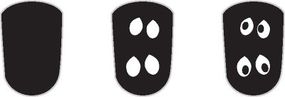
With a few bottles of nail polish and a steady hand, you'll soon have Halloween spirit all the way down to your fingertips.
Feeling inspired yet? Continue to the next page for all you need to make a little girl's dreams of becoming a princess come true...
To learn more about fun and easy Halloween activities, see:
- Halloween Crafts: Whether hosting a spooky party or looking to keep little goblins entertained, visit this site for easy arts and crafts directions.
- Halloween Decorations: Bring Halloween holiday spirit to any location when you create these fun and festive decorations.
- Halloween Masks: For a quick, fun costume and a disguise, follow these tips for creating your own Halloween masks.
- Halloween Games: There's more to Halloween than eating candy! Get your party guests moving with these ghoulish games.
- Halloween Recipes: Spooky treats that are good to eat... find out how to concoct delicious delights here.
- How Halloween Works: Discover the history and traditions behind trick-or-treating and more. Check out this site to learn what Halloween is all about.
- How to Go Green: Halloween: Planet Green covers green decorations and costumes for Halloween that are friendly toward the planet.
Advertisement