You can learn how to make beaded hair barrettes like the ones at the mall -- but better! All it takes are some simple art supplies, an assortment of beads, and a few basic tools.
Whether you prefer big, sparkling hair barrettes or small, dainty ones, you'll find the perfect project here to help you create whatever suits your fancy!
Advertisement
Start browsing through the pages below to find out how to make everything from the glamorous to the groovy.
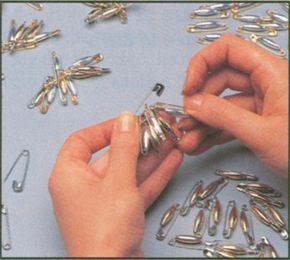
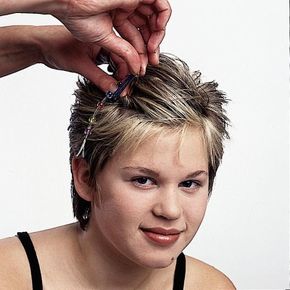
In this section, kids will master the art of making a daisy chain. Knowing the basics of the daisy chain will help you create many other bobby pin creations. Go to this page to find out more.
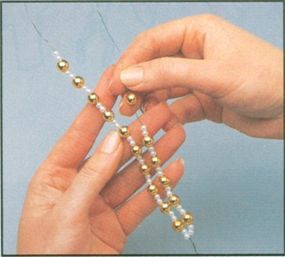
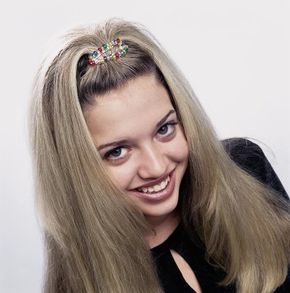
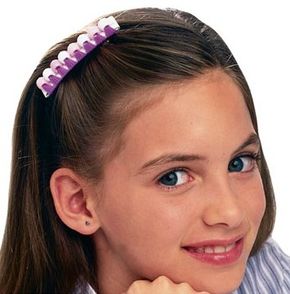
This fancy barrette sparkles and glows in greens and golds. Kids can learn to make this beaded barrette in seven easy steps. Continue to this page to learn more.
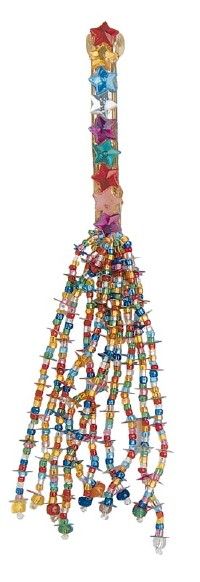
Get ready to liftoff! Learn how to create this starry barrette made of beads, sequins, and jewels. Go to this page to get started.
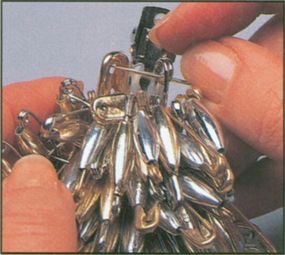
There's nothing plain-Jane about this festive beaded barrette. In this section, learn how to create layers upon layers of beads for a dramatic, and somewhat animated, effect.
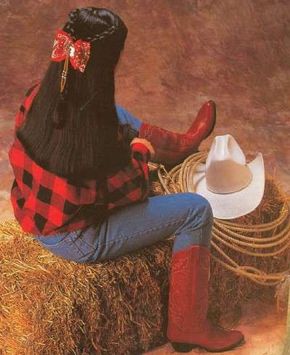
In this section, learn how to make this intricate beaded creation and the hairstyle to match!
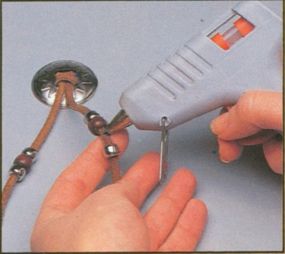
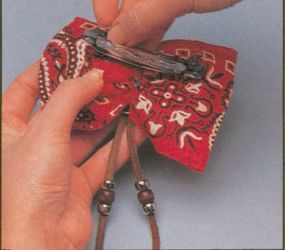
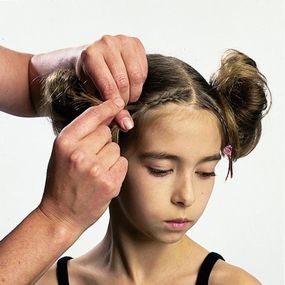
Stacked Bow with Four-Strand Round Braids
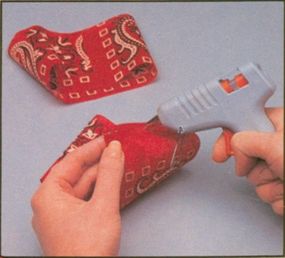
This project will show you how to to mix textures and patterns for an interesting composition. You'll need a few special materials for this one. Go to this page to find out how to get started.
Hot pink and bright blue makes for an eye-catching color combination. In just a few easy steps, you'll learn how to weave bright beads and embroidery floss together to create the best barrette yet! Ready? Set? Go!
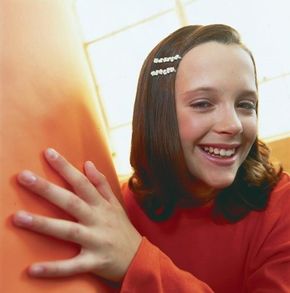
Best friends can pair up to make this neat little FRIENDS barrette made of pretty purple and orange beads. You can fix each other's hair too! Continue to this page to whip up your do and this bead creation, too!
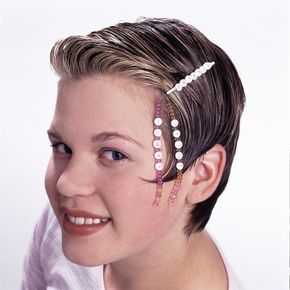
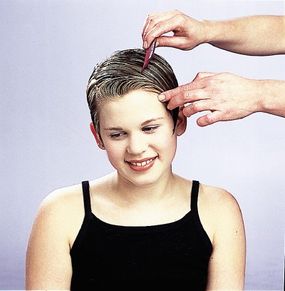
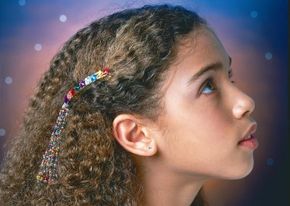
Girls everywhere will love this groovy jeweled hair clip! Create this gem in just a few easy steps, along with a special hairstyle to match. Continue to this page to learn more.
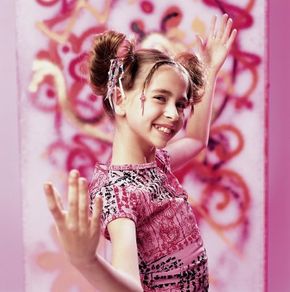
Poofs and ponytails will make this dangling barrette stand out in a crowd. Continue to this section to learn how to create this cute combination.
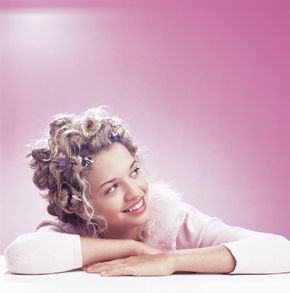
In this section, kids will use an assortment of crystal beads to create a dramatic effect. The hip hairstyle adds a special "something" to this sparkling creation.
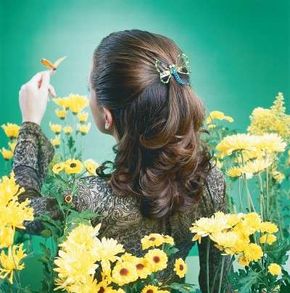
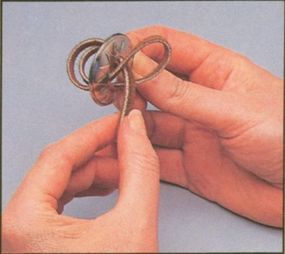
Nature and vibrant colors -- what a nice combination! Go to this page to learn how to create gorgeous dragonfly hair snaps.
With some lace and pony beads, kids can create a glamorous gathered barrette -- perfect for those dressy occasions. Continue to this page to find out how to make this popular hair accessory.
If you're ready to get started, just select your favorite beaded barrette project to begin. Or, you can continue to the next page to begin creating your collection of beaded hair barrettes with the first project on the list -- a daisy chain barrette.
For more fun crafts and activities for kids, see:
Advertisement