How 'Lasagna Gardening' Helps Create Healthy Soil

By: Kate Morgan  | 
lasagna gardening
Lasagna gardening is also known as “sheet composting” because you alternate sheets of your yard and kitchen waste with sheets of cardboard to build up your layers. Sam Barrett/Shutterstock

There are few things more rewarding than a flourishing summer vegetable garden. But the work to prep the soil can be backbreaking, and keeping the weeds under control requires a major commitment of time and energy.

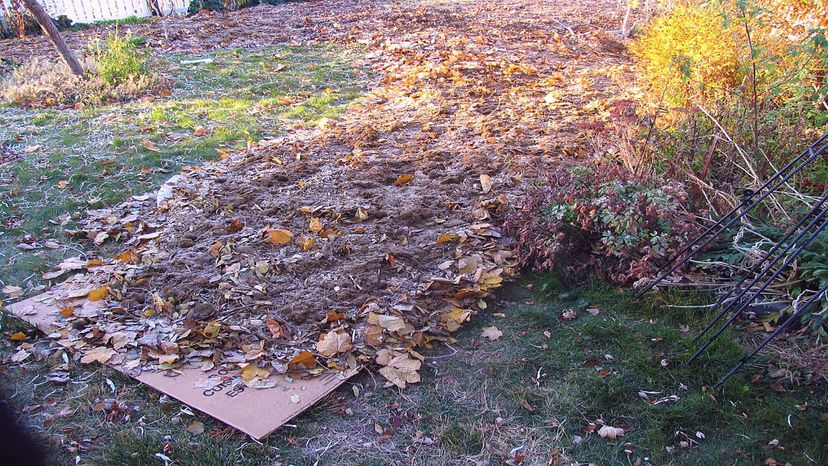
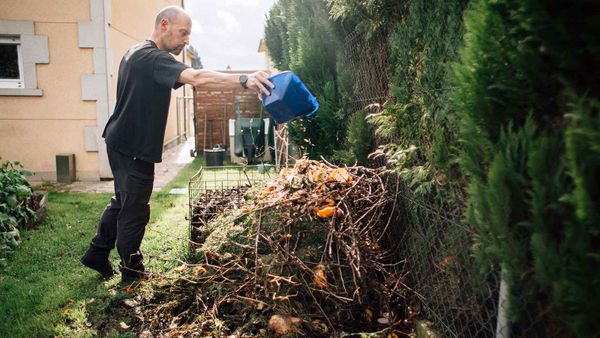
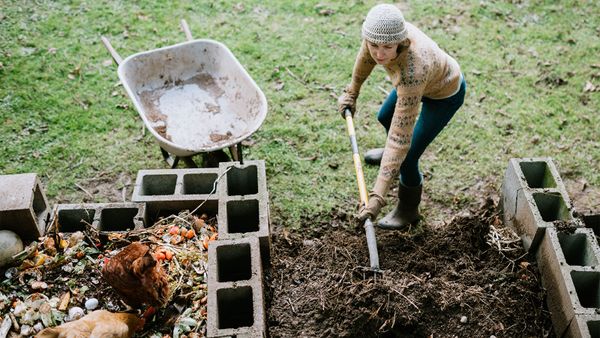
Luckily, there's a better way. Through a method called sheet mulching or sheet composting, sometimes also known as "lasagna gardening," you can create garden beds full of rich, nutrient-dense soil and — best of all — keep the weeds to a minimum. You never have to till it or turn the soil over, and it hangs onto moisture much better, meaning you get to water less.

Advertisement

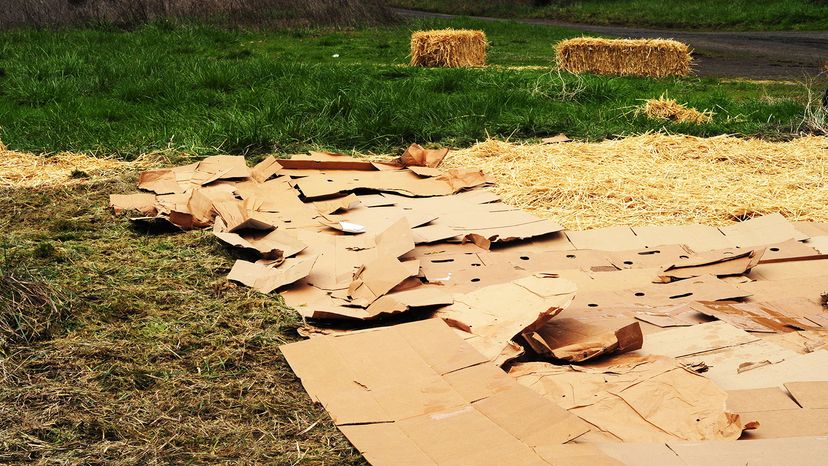
The secret is in the layers. By stacking different kinds of organic material much in the same way you stack noodles, sauce and cheese in a lasagna, you're basically turning your whole garden into one big compost pile. The result is a healthy environment for your plants that's easier to maintain.

Here is the layering system you can use to create your rich "lasagna" garden:

Advertisement

Layer 1: Start With Cardboard

The best time to start sheet composting is in the fall, after the first frost, when the grass will already be dormant. That said, you can begin any time of year, and the method will still work. If the area you'll be building your garden on is grassy, just mow it down as low as possible.

The bottom-most layer of your "lasagna" bed should be cardboard. You can buy new corrugated cardboard in a roll, or you can simply recycle. Look for boxes with little ink on them, and make sure to peel off any tape or plastic. Unfold them and lay them flat in the garden, overlapping at the edges to make sure you cover the whole area.

Advertisement

Cardboard serves a dual purpose as the bottom layer. As it traps heat and the ground underneath gets warm, the seeds of dormant grasses and weeds will germinate. But once they do, the cardboard will keep them from getting any light, and they'll soon die. This layer is your best weapon against weeds.

Layer 2: Add Your Greens

The next layer will kick-start the composting process. Pile on things like grass clippings, vegetable and fruit scraps, and coffee grounds. You can also add manure from some animals, including horses, cows or chickens.

Considered "green" compost additions, these are loaded with nitrogen. As they break down, that nitrogen releases into the soil to benefit your plants.

Advertisement

A few things to avoid adding to the mix: no pet (or human!) waste can be safely composted in your garden. And if you're adding grass or weed clippings, be sure they don't contain any seeds that could germinate in the spring. Also keep in mind that large kitchen scraps could attract unwanted critters to the garden. Try to cut things up small, if you can, and bury them well below the next layer.

Layer 3: Add Your Browns

In addition to green compost, there's a second category called "brown" compost. While the greens provide nitrogen upon breakdown, the browns supply carbon. Compost piles — where heat generation aids decomposition — call for a specific ratio of greens and browns. It's not necessary to be quite as specific in your lasagna garden bed, but it's important to get a healthy balance.

Cardboard is a brown, so this next layer is technically your second brown layer. Cover up the greens with things like leaves, wood ash, and straw. You can also lay down sheets of newspaper or even add more cardboard, though using the thick stuff in this layer will make it slower to break down. You're going for a layer of browns that's approximately 4 to 6 inches (10 to 15 centimeters) deep.

Advertisement

Layer 4: Add a Second Green Layer

The next layer should be another green layer made up of grass clippings, vegetable and fruit scraps.

Advertisement

Layer 5: Add a Third Brown Layer

Now you've got a handle on where we're going with this (and why it's called a lasagna bed). Keep layering until you've run out of material or you're happy with the height of your layers. Don't worry if it seems a bit high; it'll flatten out as things begin to break down.

lasagna gardening
The name "lasagna gardening" is not about what you will be growing in your garden, but refers to the method of building the soil by adding layers of organic material that will break down over time.
naturalflow/Flickr (CC BY-SA 2.0)

Advertisement

Layer 6: Cover With Compost

If you started sheet mulching in the fall, your layers will have all winter to break down, so you may not need a layer of compost on top. But if you want to plant in the garden right away, top everything off with at least 4 inches (10 centimeters) of healthy compost.

Advertisement

Add Water and Let It Soak

Once you've built up all the layers, take the hose and give everything a good drenching. The water will fire up the composting process and get you on your way to rich, healthy soil.

Advertisement

Layer 7 (optional): Add a Layer of Mulch

If you plant in your new bed right away, you can top everything off with some kind of mulch, like cut-up leaves or straw. This brown layer will eventually break down, too, but it also helps keep the plants evenly moist and protects them from swings in temperature.

Once you've created a sheet mulching operation, you can add to it year after year. You'll never have to do the hard work of tilling again, and even the most persistent weeds will eventually be smothered. At the end of each growing season, simply start the process over again, and the garden will just keep getting better.

Advertisement

Advertisement

Loading...