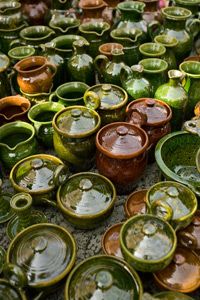
Pottery is one of the oldest art forms on Earth, but it didn't start out being considered art. For years, pottery was created by craftspeople strictly for utilitarian purposes with little consideration for how they looked. These pots were hand-built, fired in bonfires and served the purpose of carrying grains, water and other liquids, as well as storing seeds. Shortly thereafter they began to use pots for cooking.
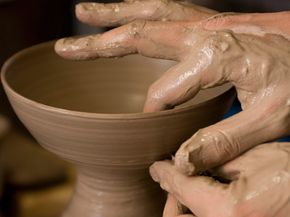
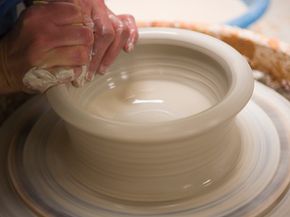
Pottery is broken down into three wares -- earthenware, stoneware and porcelain. These are all considered ceramics, which explains why potters are often referred to as ceramic artists. It's a tactile, often meditative form of making art with a scientific bent. A good ceramic artist understands the tricky relationship between human and clay. Clay can be temperamental and the act of shaping, heating, hardening, cooling and glazing all take a lot of practice to get just right. There are many steps involved in creating a ceramic piece and entire volumes of books have been written about the intricacies of the craft.
Advertisement
The distinction between art and craft is hazy at best and pottery is considered both. Crafting has made a big comeback in recent years with both men and women discovering the fun of activities their parents enjoyed in the 1960s and 1970s like pottery, sewing, knitting and woodworking. It's become big business these days, too. The American Hobby Industry Association states that the craft industry grew by almost $10 million between 2000 and 2004 and in 2008, was a $31 billion dollar industry [source: hobby.org].
Whether working with hand-built pieces or on a potter's wheel, creating a ceramic piece can be a lot of fun. Read on to find out a little more history of this ancient art and craft.
Advertisement


