Key Takeaways
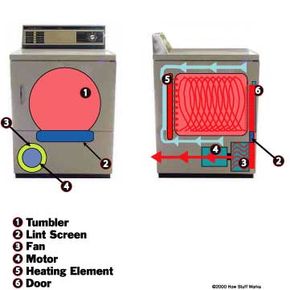
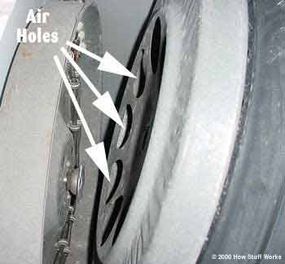
- Clothes dryers draw in air through openings, heat it and then pass it through the tumbler where the clothes are. It picks up moisture in the process, which it expels through an exhaust duct.
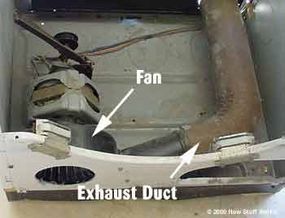
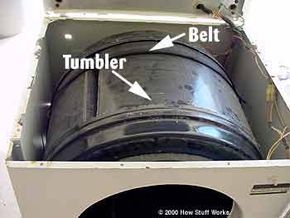
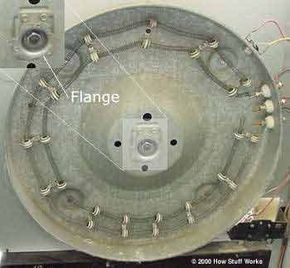
- The process involves several key components: the heating element that heats the air, the tumbler that holds the clothes, and the fan that moves the air through the system.
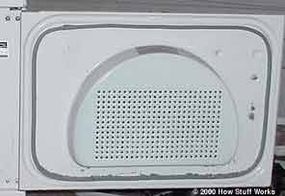
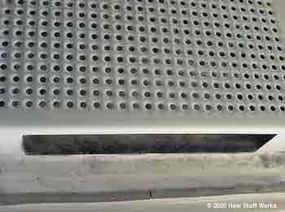
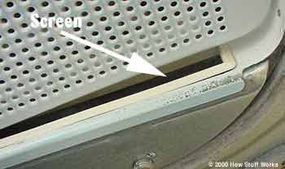
- Proper maintenance, such as cleaning the lint screen and ensuring the exhaust duct is not obstructed, is essential for efficient operation and fire prevention.
A clothes dryer can be found in just about every house in the United States, and millions more of them are manufactured each year. They are very reliable, and very cheap to build. You'll be surprised at how simple this common machine is. Clothes dryers have:
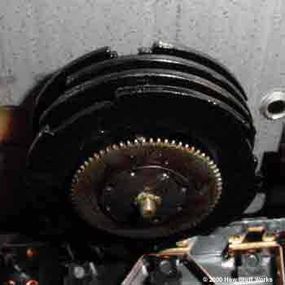
- A rotating tumbler that holds the clothes.
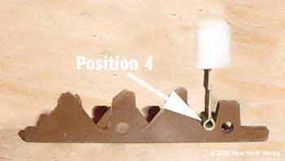
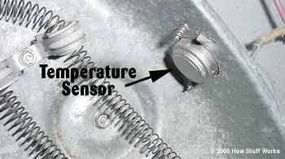
- An electric or gas powered heater that heats the air that is drawn through the clothes as they tumble, which in turn heats up the clothes and the water in them.
- An exhaust vent that passes out of the dryer and out of the house -- this is how the water exits the dryer in the form of steam.
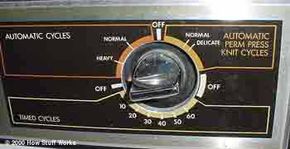
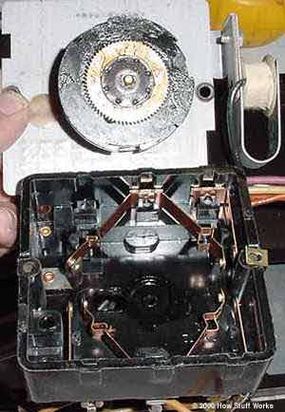
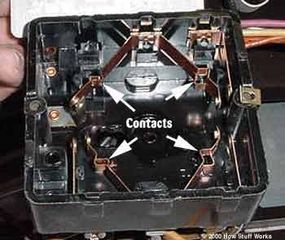
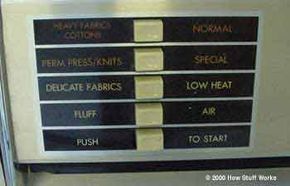
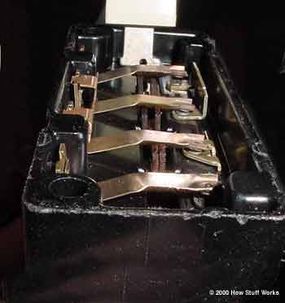
In this edition of How Stuff Works, we'll take apart a clothes dryer and explore how each system works. We'll start by following the air through the machine, then see how the tumbler and fan turn, and finally we'll look at the controls.
Advertisement
Advertisement