Installing weather stripping onto sliding windows and doors presents some unique challenges. We'll show you in this section how to solve the various problems associated with these tasks.
Installing Weather Stripping Onto Sliding Windows
Sliding windows, those in which the sash moves laterally, come in both wood and metal frames. Weather-strip the wooden frames much as you would a double-hung window turned sideways. If only one sash moves, weather-strip it and caulk the stationary sash. For metal frames, follow the instructions for weather-stripping standard metal windows.
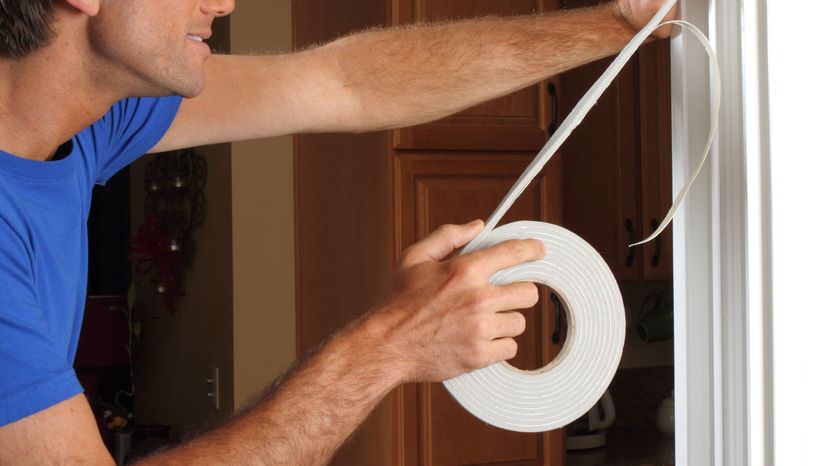
Special gaskets are designed for sealing gaps in jalousie and casement windows. To weather-strip jalousies, measure the edge of the glass louver, cut the gasket to size with scissors, and snap the gasket in place. To weather-strip casement windows, measure the edges of the frame, cut strips of gasket to size, miter the ends of the gasket strips where they will intersect, and slip the strips in place over the lip of the frame.
Double-hung wood windows almost always require weather-stripping, although if the top sash is never opened, you can solve an air leak problem by caulking to seal any cracks. You may find it advantageous to use more than one type of weather stripping to complete the job. Be sure to follow the correct installation procedures for each type of weather stripping.
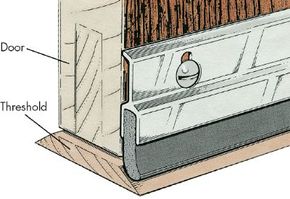
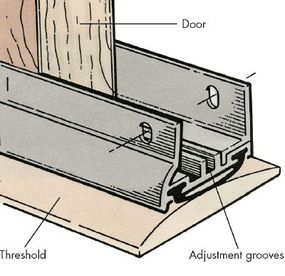
Installing Weather Stripping Onto Doors
All four edges around a door can permit air to leak in and out of your house. In fact, the average door has more gaps than a loose-fitting window. Doors, moreover, don't run in grooves as windows do, so any crack area around a door is likely to be far greater than the area around a window. Weather stripping your doors can seal those gaps, get rid of drafts, and help to reduce your heating and cooling bills. In this article, we'll review the various types of weatherstripping for doors and how to install them.
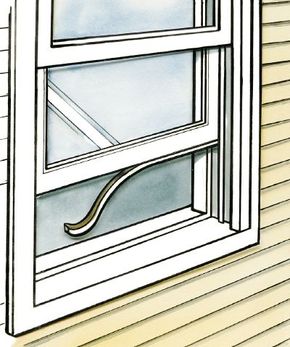
Before you start weather stripping, inspect the door to be sure it fits properly in the frame opening. Close the door and observe it from the inside. Look to see that the distance between the door and the frame is uniform all along both sides and at the top. The distance does not have to be precisely the same all the way around, but, if the door rests crooked in the frame, weather stripping may make it impossible to open or close. Naturally, if there is great variance in the opening between the door and frame, it will be difficult to fit weather stripping snugly at all points, and gaps will result.
The cause of most door problems is the hinges. Therefore, the first thing to do is open the door and tighten all the hinge screws. Even slightly loose screws can cause the door to sag. If the screw holes have been reamed out and are now too big to hold the screws, you can use larger screws as long as they will still fit in the hinge's countersunk holes. If even the larger screws won't work, pack the holes with toothpicks dipped in glue, and use a knife to cut off the toothpicks even with the surface. Now the screws have new wood in which to bite.
Sometimes the door must be planed off to prevent binding. If so, you can usually plane the top with the door still in place. Always move the plane toward the center of the door to avoid splintering off the edges. If you must plane wood off the sides, take the door off its hinges, plane the hinge side, and always move toward the edges.
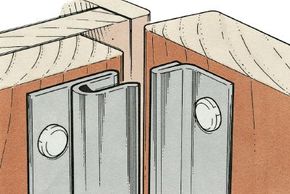
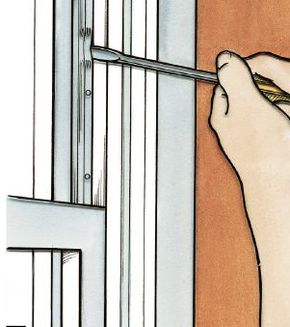
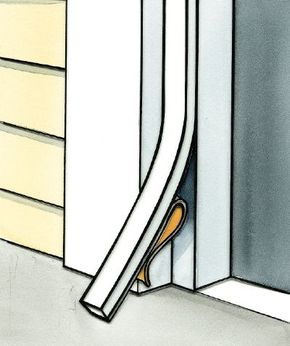
Spring metal is quite popular for door weather stripping. It works effectively when installed properly and is not visible with the door closed. In the packages designated as door kits, most manufacturers include the triangular piece that fits next to the striker plate on the jamb.