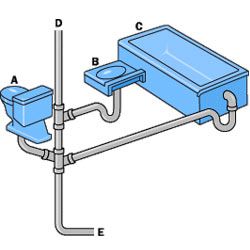
There are a few fixes you can try before calling the plumber.
1. Unclog the Drain
- Effort level: Low, can typically do without seeking help
A clogged drain is kind of gross but fairly easy to resolve. Often, a plunger can take care of the clog, but if that doesn't work a plumber might have to use a drain snake or hydro-jetter to remove it. Sometimes, it's necessary to completely remove the P-trap to solve the issue.
If the suggestions above don't lead you to the source of the sewage smell, you may be dealing with a more complicated issue.
2. Fill the the P-trap
- Effort level: Low, can handle on your own
A dry P-trap is by far the easiest to fix, and more likely to occur in your bathroom if you haven't used the fixtures recently. For example, you may not use the sink in a guest bathroom or the tub in a bathroom with a separate shower.
The issue in situations like these is that the water in the P-trap has simply evaporated due to lack of use, effectively removing the barrier between your bathroom and the gases in the sewer system.
If that's the case, the solution is as simple as running some water to allow the P-trap to fill up again. If plain running water isn't making a dent in those sewer odors, Patrick recommends using pink RV water-safe antifreeze.
3. Check the P-Trap for Leaks
- Effort level: Easy to detect but fixing might require professional help
If there's still a sewage odor after you've run plenty of water or pink antifreeze down all the drains or if you notice sewer smells in a bathroom that gets regular use, check for leaks in or around the P-trap.
If even a small amount of leaks out of the bottom of the "U," sewage gases may be able to sneak in. "If anything leaks, it would be noticeable," Patrick explains.
To fix a leaky P-trap, first, place a bucket underneath it to catch any water and turn off the water supply. Then, carefully loosen the slip nuts on both ends of the P-trap using a wrench and remove the trap. Inspect for cracks or worn-out washers; replace any damaged parts or washers. Seal any cracks or openings. Reassemble the trap tightly, ensuring all connections are secure, then run water to check if the leak has stopped.
4. Address Leaky or Damaged Pipes
- Effort level: Easy to detect but professional help necessary in many cases
Check for visible leaks under sinks and around pipes. Use a flashlight to inspect areas under the sink or behind the toilet, and listen for any dripping sounds. A plumber’s inspection is best for leaks in walls or under flooring.
Minor leaks from accessible areas can be DIY fixes with a plumber’s tape or sealant. For hidden or severe leaks, contact a plumber to prevent further damage.
5. Test if the Toilet Seal Is Intact
- Effort level: A possible DIY but it requires heavy lifting
To determine if there's an issue with the toilet seal, you can run a few tests:
- Leaks: After you flush the toilet, inspect the floor around the base for any water pooling or damp spots. A leaking wax seal often causes water to seep out from under the toilet.
- Sniff: If you notice a persistent sewage smell around the toilet, it may indicate a broken wax seal, as sewer gases can escape when the seal is compromised.
- Rock: Gently rock the toilet back and forth. If it moves or wobbles, it could mean the wax seal is not properly sealing the toilet to the floor flange, potentially causing leaks.
Replacing the wax ring is possible, but it requires lifting the toilet. According to Vaughan HVAC, "This form of toilet repair is not an overly complicated process, but it does involve some heavy lifting, and many people are uncomfortable with it."
If you want to take it on yourself, follow these steps:
- Ensure you have the right tools: Vaughan HVAC recommends having shims, a putty knife, a washer, caulk, a hacksaw, pliers, an adjustable wrench, and a deep well socket on hand.
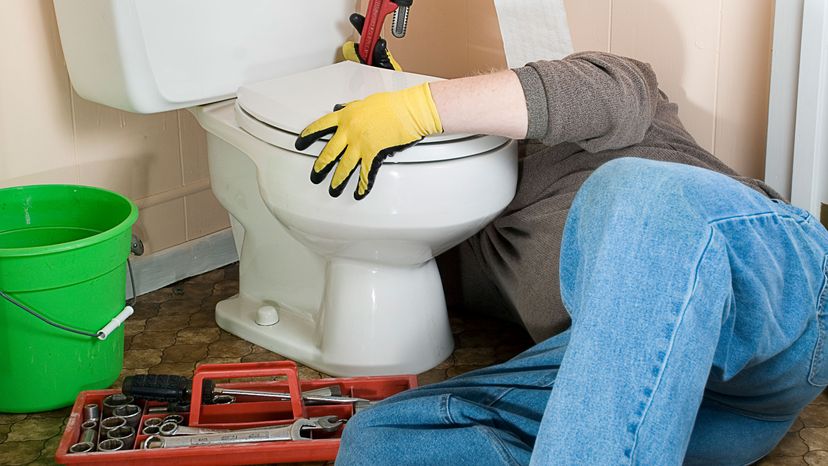
- Remove the toilet: To remove the toilet, start by turning off the water supply, then flush to empty the tank and bowl, and disconnect the water line. Use a sponge and bucket to remove any remaining water from the bowl's trap. Loosen the bolts securing the toilet to the floor, carefully breaking them off if they’re corroded, but avoid damaging the flange. Once unbolted, lift the toilet straight up, keeping it level to prevent spills.
- Scrape off wax: Scrape off the wax with a putty knife, leaving the floor flange as clean as possible. If you're not replacing your toilet, remove any wax from the bottom of the toilet as well.
- Install wax seal: Place the new Johnny bolts in the floor flange, position the rubber gaskets, and align the toilet over them. Center the wax ring as per the instructions, then lower the toilet, ensuring the bolt holes match the flange bolts. Tighten the nuts on the bolts, sit on the toilet to secure the seal, and finish by caulking around the base for added stability.
6. Examine the Roof Vent
- Effort level: Doable but may be inaccessible.
To check for a vent pipe blockage, head to the roof and look for debris like leaves, dirt or nests. Clear any blockages if you feel comfortable doing so. If it’s inaccessible or you’re unsure about clearing it, a plumber can safely handle this task.
7. Correct Sewer Line Issues
- Effort level: Call in the professionals
If you suspect it's a sewer line issue, you’ll need a professional inspection. Plumbers can use cameras to assess the main sewer line and determine if there are blockages or breaks. This is best left to a plumber because they have the tools and expertise to address complex issues, like tree root blockages or broken sewer lines.


