Painting interiors gives you a lot of bang for your home improvement buck. To completely change the look and feel of a room, you can't go wrong with paint. Whether you're changing the look of the trim or completely changing the dominant color, paint has an effect that is immediate and significant.
The links at the bottom of this page will take you to articles that will tell you everything you need to know about painting interiors. Whether you want to paint your kitchen cabinets or figure out how to coat your shutters, these articles will provide detailed instructions.
Advertisement
Here's a preview of what the articles will cover:
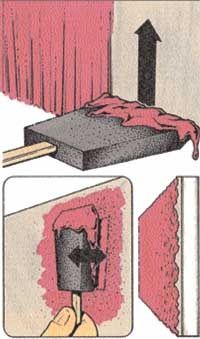
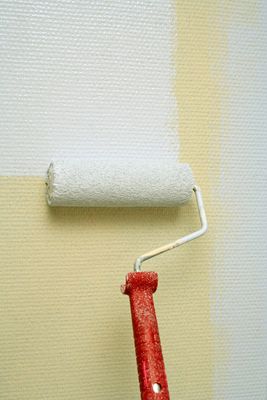
Walls are the biggest surfaces in your home, so you need to know how to paint them thoroughly and neatly.
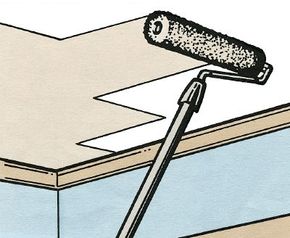
Painting Ceilings and Tight Spots
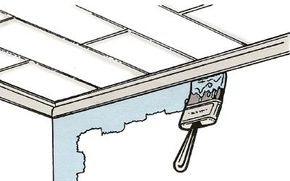
Painting Trim, Baseboards, and Wainscoting
The edges of a room are like the frame of a picture. We tell you how to apply just the right touch to this painting job.
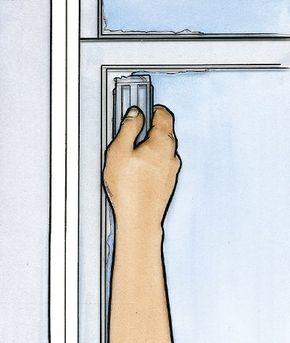
Painting windows requires extra care, so you'll want to make sure to read this article.
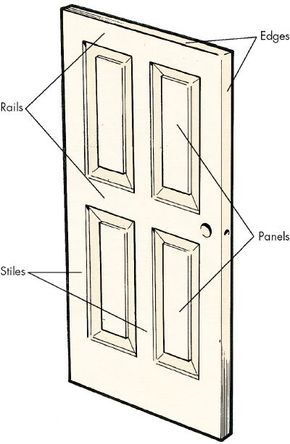
A door is the overture to a room. Learn how to enhance this household feature with a coat of paint.
Shutters can be extremely difficult to paint. Find out how to cover every side smoothly and equally.
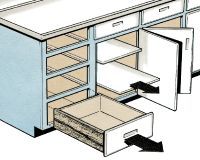
Food tastes better when prepared in a beautiful room. We'll show you exactly how to spice up this room with a little paint.
You may not spend a lot of time looking at the floor, but a coat of paint will make a dramatic statement in any room. Learn to use paint to showcase your floor.
Want to bring a weathered or stucco look indoors? Give your walls and surfaces a new layer of character by applying textures.
Stripes create visual flair, and are easy to make. This article will tell you how to paint stripes on any interior surface.
One of the oldest means of decorating, stencils are easy to design and easy to paint. Learn the steps in this article.
All done painting? Not quite. Proper cleanup will keep your home looking spotless, and prevent accidents that might undercut all your hard work. Learn what's involved with this job.
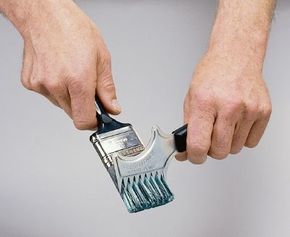
The sooner you get the paint off your tools, the less time you'll have to spend cleaning. Follow these simple instructions.
For more information on painting and on home improvement in general, see:
- Interior Paints: Make sure your newly-painted interiors can stand up to the daily grind by choosing from this list of paint types.
- Interior Painting Preparation: Preparation is a key part of any painting job. These tips will get you going.
- House Painting: For all things related to improving your home with paint, visit this page.
- Home Improvement: After you're done painting, learn how you can make other fixes in all parts of your home.
Advertisement