How to Clean a Keurig Coffee Maker

By: Talon Homer  | 
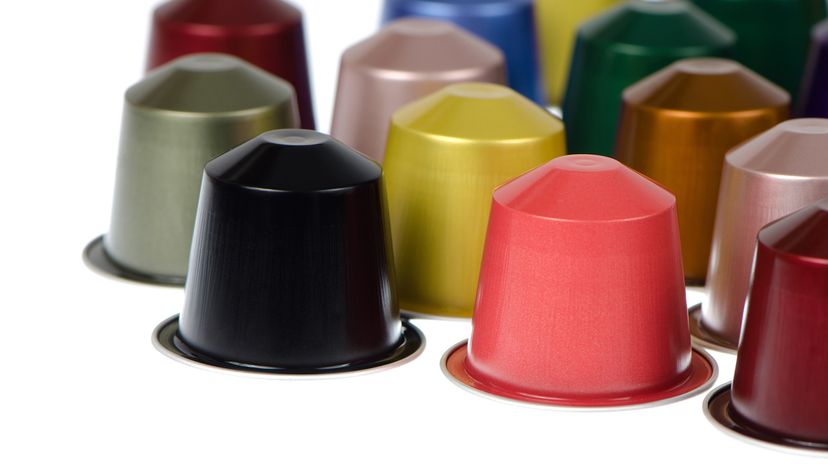
Coffee pods make cleanup easier, but they don't erase the need to clean altogether. Zoonar/homydesign / Getty Images/Zoonar RF

A Keurig coffee maker is a convenient way to enjoy your morning coffee, but it needs regular cleaning to ensure it brews better-tasting coffee every time. Over time, coffee oils, coffee grounds and mineral buildup can affect the flavor and performance of your machine. It doesn't take much effort to learn how to clean a Keurig, and those cleanings go a long way in helping maintain its longevity.

From the water reservoir to the K cup holder, every part of the Keurig plays a role in delivering your perfect cup. By using simple cleaning methods and something like a vinegar solution or a Keurig descaling solution, you can keep your coffee maker in top shape and eliminate that unpleasant vinegar taste during your brew cycle.

Advertisement

Step 1: Unplug and Disassemble

To clean a Keurig coffee maker, Begin by unplugging the device from the wall for safety. Remove detachable parts such as the water reservoir, K cup holder and drip tray. These components can accumulate coffee oils and residue over time, so cleaning them is essential.

Advertisement

Step 2: Wash Removable Parts

Wash the water reservoir, K cup holder, and drip tray with warm soapy water. Use a damp cloth to wipe the exterior of these parts, ensuring you remove coffee grounds or stains. Rinse thoroughly with fresh water and set them aside to air dry.

Advertisement

Step 3: Clean the Needle and Pod Holder

Use a clean paper clip or a needle-cleaning tool to clear any blockages in the Keurig's needle. Coffee grounds can clog the needle, affecting the flow of water through your coffee pod. Once cleared, rinse the pod holder under running water to ensure it's free of debris.

Advertisement

Step 4: Prepare a Cleaning Solution

For descaling, mix equal parts white vinegar and fresh water to create a vinegar solution. Alternatively, use a Keurig descaling solution or citric acid diluted in water as directed. These solutions help break down mineral buildup inside your coffee maker.

Advertisement

Step 5: Run a Descaling Brew Cycle

Fill the water reservoir with your cleaning solution and place an empty cup under the spout. Run a brew cycle without inserting a coffee pod, allowing the solution to flow through the machine. Repeat this process until the reservoir is empty, flushing out mineral deposits and coffee oils.

Advertisement

Step 6: Rinse With Fresh Water

After descaling, rinse the water reservoir thoroughly and fill it with filtered water. Run several brew cycles with just water to remove any lingering vinegar taste or descaling solution residue. This step ensures your next-morning coffee tastes fresh and clean.

Advertisement

Step 7: Replace the Water Filter

If your Keurig uses a water filter, replace it as part of the cleaning process. A fresh water filter ensures better-tasting coffee and helps reduce mineral buildup in your coffee maker. Follow the manufacturer’s instructions for installing the new filter.

Advertisement

Step 8: Wipe Down the Exterior

Use a damp cloth to wipe the exterior of your Keurig, removing any coffee stains or fingerprints. Pay attention to the buttons and display, ensuring they remain free of residue for smooth operation.

Advertisement

Step 9: Reassemble and Test

Once all parts are clean and dry, reassemble your Keurig coffee maker. Run a test brew cycle with filtered water to confirm everything is functioning properly. Enjoy the fresh, clean taste of your coffee without any lingering residue or unpleasant flavors.

We created this article in conjunction with AI technology, then made sure it was fact-checked and edited by a HowStuffWorks editor.

Advertisement

Advertisement

Loading...