Your home's plumbing and electrical systems may seem as different as any two things could be. But there are significant parallels. Water enters your home through a pipe under pressure, and, when you turn on a tap, the water flows at a certain rate (gallons per minute). Electricity enters your home through wires, also under pressure (called voltage, measured in volts). When you turn on an electrical device, the electricity flows at a certain rate (current, measured in amperes, or amps).

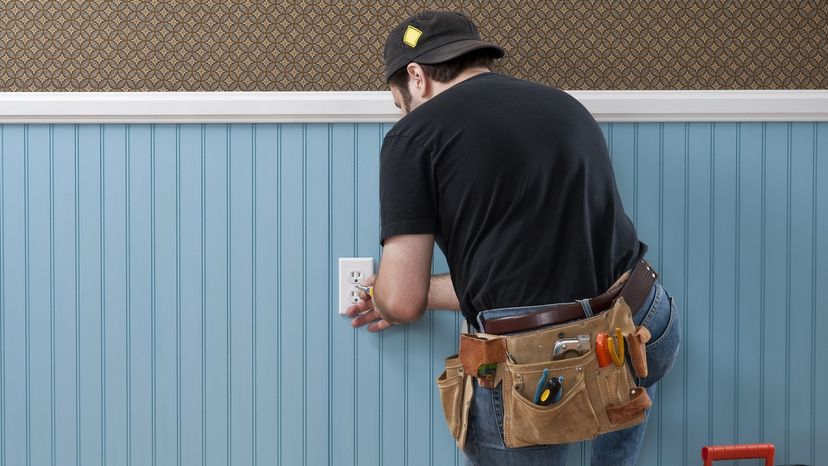
A replacement receptacle must match the one you are removing. If you have the grounded type, you must buy a receptacle that has a ground terminal screw and slots for three-prong grounded plugs.
Unlike water, which is used as it comes from the tap, electricity is meant to do work: It is converted from energy to power, measured in watts. Since household electrical consumption is relatively high, the unit of measure most often used is the kilowatt, which is equal to 1,000 watts. The total amount of electrical energy you use in any period is measured in terms of kilowatt-hours (kwh).
The instrument that records how much electricity you use is called an electric meter. This meter tells the power company how much electricity they need to charge you for. There are two types of electric meters in general use. One type displays a row of small dials on its face with individual indicators. Each meter dial registers the kilowatt-hours of electrical energy. For example, if you leave a 100-watt bulb burning for 10 hours, the meter will register 1 kilowatt-hour (10x100 = 1,000 watt-hours, or 1 kwh). Each dial registers a certain number of kilowatt-hours of electrical energy. From right to left on most meter faces, the far right is the one that counts individual kilowatt-hours from 1 to 10; the next one counts the electricity from 10 to 100 kilowatt-hours; the third dial counts up to 1,000; the fourth counts up to 10,000; and the dial at the extreme left counts kilowatt-hours up to 100,000. If the arrow on a dial is between two numbers, the lower number should always be read.
Up Next |
The second type of electric meter performs the same function, but, instead of having individual dials, it has numerals in slots on the meter face, much like an odometer in a car. This meter is read from left to right, and the numbers indicate total electrical consumption. Some meters also use a multiplying factor -- the number that appears must be multiplied by ten, for instance, for a true figure in kilowatt-hours. Once you know how to read your meter, you can verify the charges on your electric bill and become a better watchdog of electrical energy consumption in your home.
Three main lines (older houses may have two) are responsible for supplying 110-120/220-240 volts AC (alternating current) to your home. The exact voltage varies depending on several external factors. This three-wire system provides you with 110-120-volt power for lighting, receptacles, and small appliances as well as 220-240-volt power for air conditioning, an electric range, a clothes dryer, a water heater, and, in some homes, electric heating.
Electricity enters your home through the power company's service equipment, which is simply a disconnect device mounted in an approved enclosure. It's used to disconnect the service from the interior wiring system. Usually called a main fuse, main breaker, main disconnect, or often just "the main," this disconnect might be a set of pull-out fuses, a circuit breaker, or a large switch.
Although main disconnects can be mounted outdoors in a weatherproof box, they are nearly always inside the house in a large enclosure that also contains the fuses or circuit breakers, which handle the distribution of power throughout the building. This is called a main entrance panel, a main box, or an entrance box. The three wires from the meter enter this box. Two of them -- the heavily insulated black and red lines -- are attached to the tops of a parallel pair of exposed heavy copper bars, called buses, at the center of the box. These two lines are the "live," or "hot," wires. The third wire, generally bare, is the "neutral." It is attached to a separate grounding bar, or bus, that is a silver-color strip in the main box. In most homes this ground bus is actually connected to the ground -- the earth -- by a heavy solid copper wire clamped to a cold water pipe or to an underground bar or plate.
Advertisement


