Key Takeaways
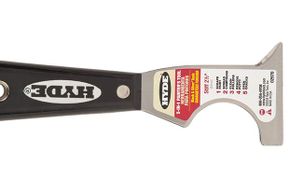
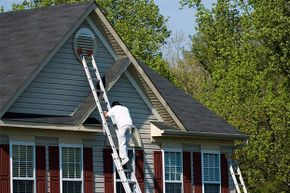
- Essential tools for painting a home's exterior include a multipurpose 5-in-1 tool for prep work, various types of ladders to reach different heights, and drop cloths to protect landscaping.
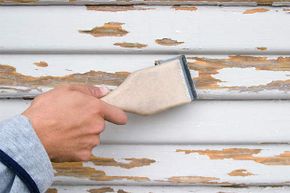
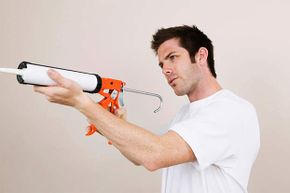
- Other key tools are surface-prep tools for cleaning and smoothing walls, a caulk gun for sealing gaps, and both buckets and paint cans for easier paint handling.
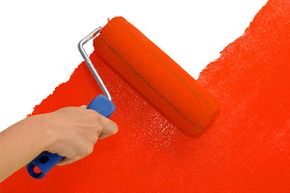
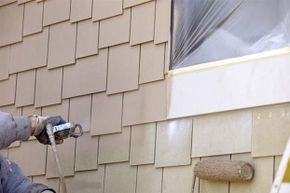
- For applying paint, essential items include high-quality paintbrushes, rollers and a paint sprayer for efficient coverage and a professional finish.
A few years ago, my brothers and our families gathered at my parents to paint their early 1900s farmhouse -- and we did it in a day. The younger set painted the trim with brushes while my brothers and nephews manned the paint sprayer. Unfortunately, my toddler wandered away with a paintbrush and went Rembrandt on the porch's concrete steps. Luckily, my parents thought it was adorable.
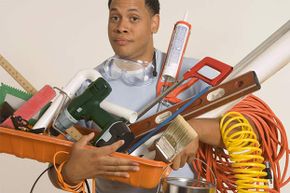
Painting a house requires more tools than you might think. But making the effort to gather the right ones to prep and finish exterior walls can save time and, in the end, offer a more professional result.
Advertisement
Exterior paint is one of the fastest and most inexpensive ways to redo your home and up its value. Done right, it's a new look that can last 15 or more years -- just as if you'd hired professionals. Here are 10 tools that will set your project up for success.