Key Takeaways
- Prep work is key to a good paint job, including removing obstacles, cleaning walls and using primer for large sanded areas.
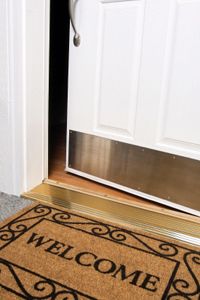
- For door maintenance, you can address sticking issues by planing the frame if necessary. Fix squeaky hinges with lubricant or by cleaning and reinserting the hinge pins.
- When applying caulk, ensure the old caulk is completely removed and the area is clean before installation. Practicing with extra caulk can help you achieve a smooth bead.
Owning a home can be a dream come true, but the world of home ownership is more than just relaxing weekends on the deck and intimate evenings in front of the fireplace. It requires a commitment to keeping your private oasis safe and running smoothly. Making occasional repairs is part of the bargain, and even if you aren't a dedicated do-it-yourselfer (DIY), there are a few around-the-house fixes you should become familiar with.
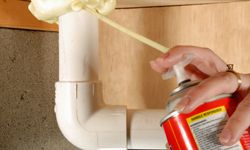
Few things will sour a homeowner's disposition faster than a stopped up toilet or runaway faucet drip, and that's just bathroom and kitchen stuff.
Advertisement
Roll up your sleeves and take a few minutes to master five home repairs that you can do yourself without dangerous tools or complicated instructions. Even though spending a few hours regularly on DIY home maintenance and repairs may never become your hobby of choice, knowing how to perform a few simple fixes will keep your costs down and help get the work done on your schedule instead of your contractor's.