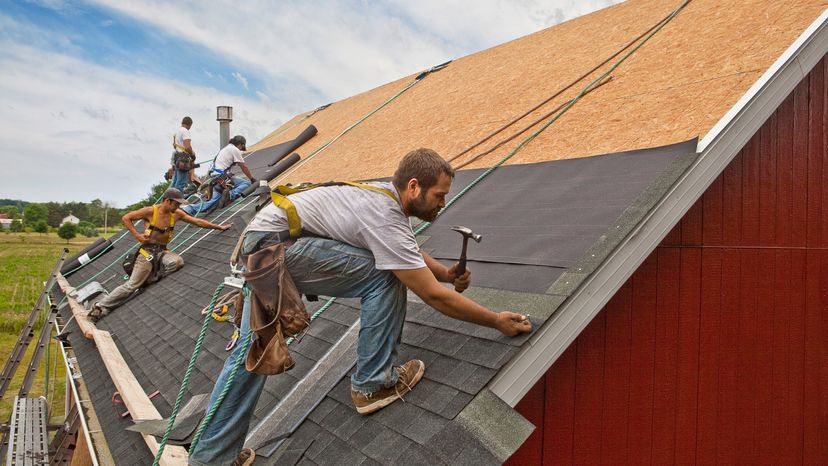
The key to a good shingle job is making sure everything lines up just right — literally. This means avoiding a straight line vertically across your roof by ensuring the shingles are staggered.
Step-by-Step Shingle Installation
- Start at the bottom. Begin at the lower left corner of your roof, laying your first row of shingles. This row should peek over the eaves by about a half inch (1.3 centimeters). Secure each shingle with roofing nails at the top edge of the tile.
- Double up. Place the next row of shingles directly on top of the first, making it two tiles thick. This is your starter course, the unsung hero of shingle installation.
- Stagger and secure. For the third row, trim 6 inches (15.2 centimeters) off the first shingle, then continue with full shingles across the roof, following the pattern in the manufacturing instructions. Nail each one as you go. Remember, the key to success is staggering those rows of shingles!
- Repeat and overlap. Make sure you overlap your shingles in a staggered pattern; it's essential for both aesthetics and function.
- Do it again — on the other side. Once you've completed one side of the roof, tackle the other side in the same manner.
- Top it off. Overlap the shingles at the roof's peak. This is where your ridge cap shingles come into play, neatly finishing off your roofing project.
Pro Tips for Perfect Shingles
If this is your first time reading up on how to install roof shingles, be sure to remember review quick but essential factors before you start shingling.
- Drip edge installation: Don't forget to install a drip edge at the roof's bottom edge. It's a small detail that makes a big difference in guiding water away from your fascia board.
- Exposed nails: If you end up with exposed nails after shingle installation, dab a bit of roofing cement over them to prevent leaks. Ideally, you want to avoid exposed nails in the first place.
- Straight lines: Use a chalk line to keep your shingle courses straight. This not only helps with water runoff but also gives your roof a professionally done look.
- The ice and water protector: In areas prone to ice dams, installing an ice and water shield along the roof edge is a must. It's like an extra layer of security against water damage.
- Rake edge and ridge caps: Don't overlook the rake edge and ridge caps. These are the finishing touches that ensure your roof is not only functional but also visually appealing.
Remember, safety is paramount when installing roof shingles. Wear appropriate gear, be cautious of falling debris and ensure your ladder is secure.
When to Call in the Pros
While shingling your roof can be a fulfilling DIY project, sometimes you need to call in a roofing contractor, especially for complex aspects like installing flashing or dealing with a steep roof.
If you're ever in doubt, it's better to consult a professional. After all, your roof is a crucial part of your home's defense against the elements.
